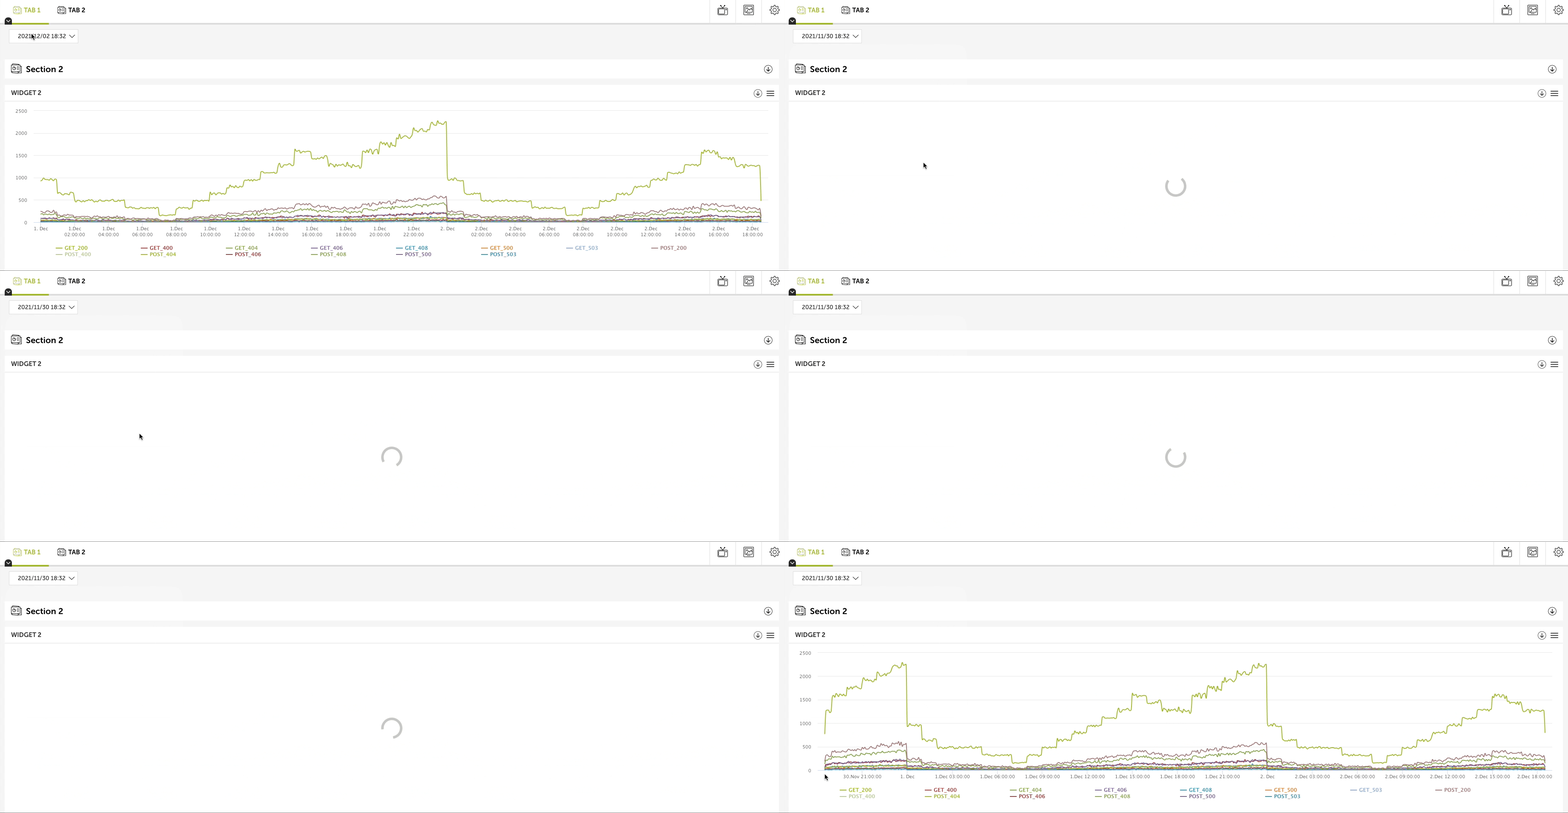
Datetime picker let you select a custom date and time.
To create a datetime picker add the element in the app.html file.
In this example we will add a selector to change the initial (from)
datetime of the widget query.
<main class="lt-vapp-main" id="main1">
  <nav class="">
    <ul style="margin: 10px 20px;">
      <li style="display: inline-block; margin-left: 10px;">
        <div id="myDateTimePicker"></div>
      </li>
    </ul>
  </nav>
</main>
Now we need to attach this field with the DateTimePickerField
component.
We will do this in the app.js file.
import DateTimePickerField from '@devoinc/applications-builder/fields/DateTimePickerField';
import dataTree from '@devoinc/applications-builder/data/dataTree';

...

let datetimeInput = new DateTimePickerField({
  id: '#myDateTimePicker',
  timepicker: true,
  showTime: true,
  onChange: () => {
    dataTree.root.set('from', datetimeInput.getValue());
  },
});

...

app.init();
In the onChange method we use the dataTree to add this
variable to the root of the tree structure and be able to use it anywhere in
the application.
We will use the following query for this example.
requests.add(
  'lines',
  new RequestApi({
    template: `from demo.ecommerce.data
    group every 5m by method, statusCode
    select count() as count`,
    dates: dateRange.fromNow(1, 'day'),
  })
);
The next thing to do, is to subscribe to the changes that can be made on the
from variable that we have added previously.
We will edit the resources/requests.js file to do this, but you can do it
however you prefer.
import dataTree from '@devoinc/applications-builder/data/dataTree';

...

dataTree.root.subscribe('from', (date) => {
  requests.get('lines').setDates({ from: date, to: Date.now() });
});
Finally, the widget need to be updated as the following
import dataTree from '@devoinc/applications-builder/data/dataTree';

...

widget = seriesWidget('widgetContainer');
  widget.setRequests(
    [requests.get('lines').parseTemplate({})],
    true
  );
  widget.setKeys(['method', 'statusCode']);
  widget.setValue(['count']);
